Whether you’re new to vaping or a seasoned vet, MIST welcomes you to our Ultimate Guide to Vaping Properly! For the ex-smokers among you, congratulations on taking the first step to ditching the cigarettes and regaining control of your health—not to mention your bank balance! Now, lets teach you the ins and outs of how to vape the right way!
MIST knows how daunting it can be to take that first step into the world of vaping, which is why we’re here to give you tips on how to vape with this thorough guide.
Going from absentmindedly lighting up a cigarette to all the paraphernalia that comes with vaping—e–liquid, e-cigarettes, batteries and chargers—can make anyone’s head spin! Thankfully, we’re here to clear the smoke for you. We’re confident our guide on how to vape properly will give you invaluable tips that will make your transition to vaping as smooth as possible.
How To Vape: Ultimate Guide To Vaping Properly
- What is vaping?
- Is it easy to switch from smoking to vaping?
- Where should I purchase my vape? Which vape brands can I trust?
- What e-liquid should I choose? How much should I buy?
- What nicotine strength vape juice do I need?
- Should I choose MTL (mouth-to-lung) or DTL (direct-to-lung) vaping?
- What PG / VG Ratio e-liquid should I choose?
- How do I keep my vape clean?
- How do I avoid dry hits when vaping?
- How do I fix a “gurgling” or “flooded tank”?
- What should I do if my vape coil tastes burnt?
- How do I store my vape device?
- How do I get the best flavour out of my device?
1. What is vaping?
Right, let’s start with the basics.
“Vaping” is a term used to describe the act of using a vape kit or e-cigarette. To vape you either push a button or inhale to heat up the e-liquid.

Heating up the e-liquid turns it into a vapour (aerosol) which you then inhale.
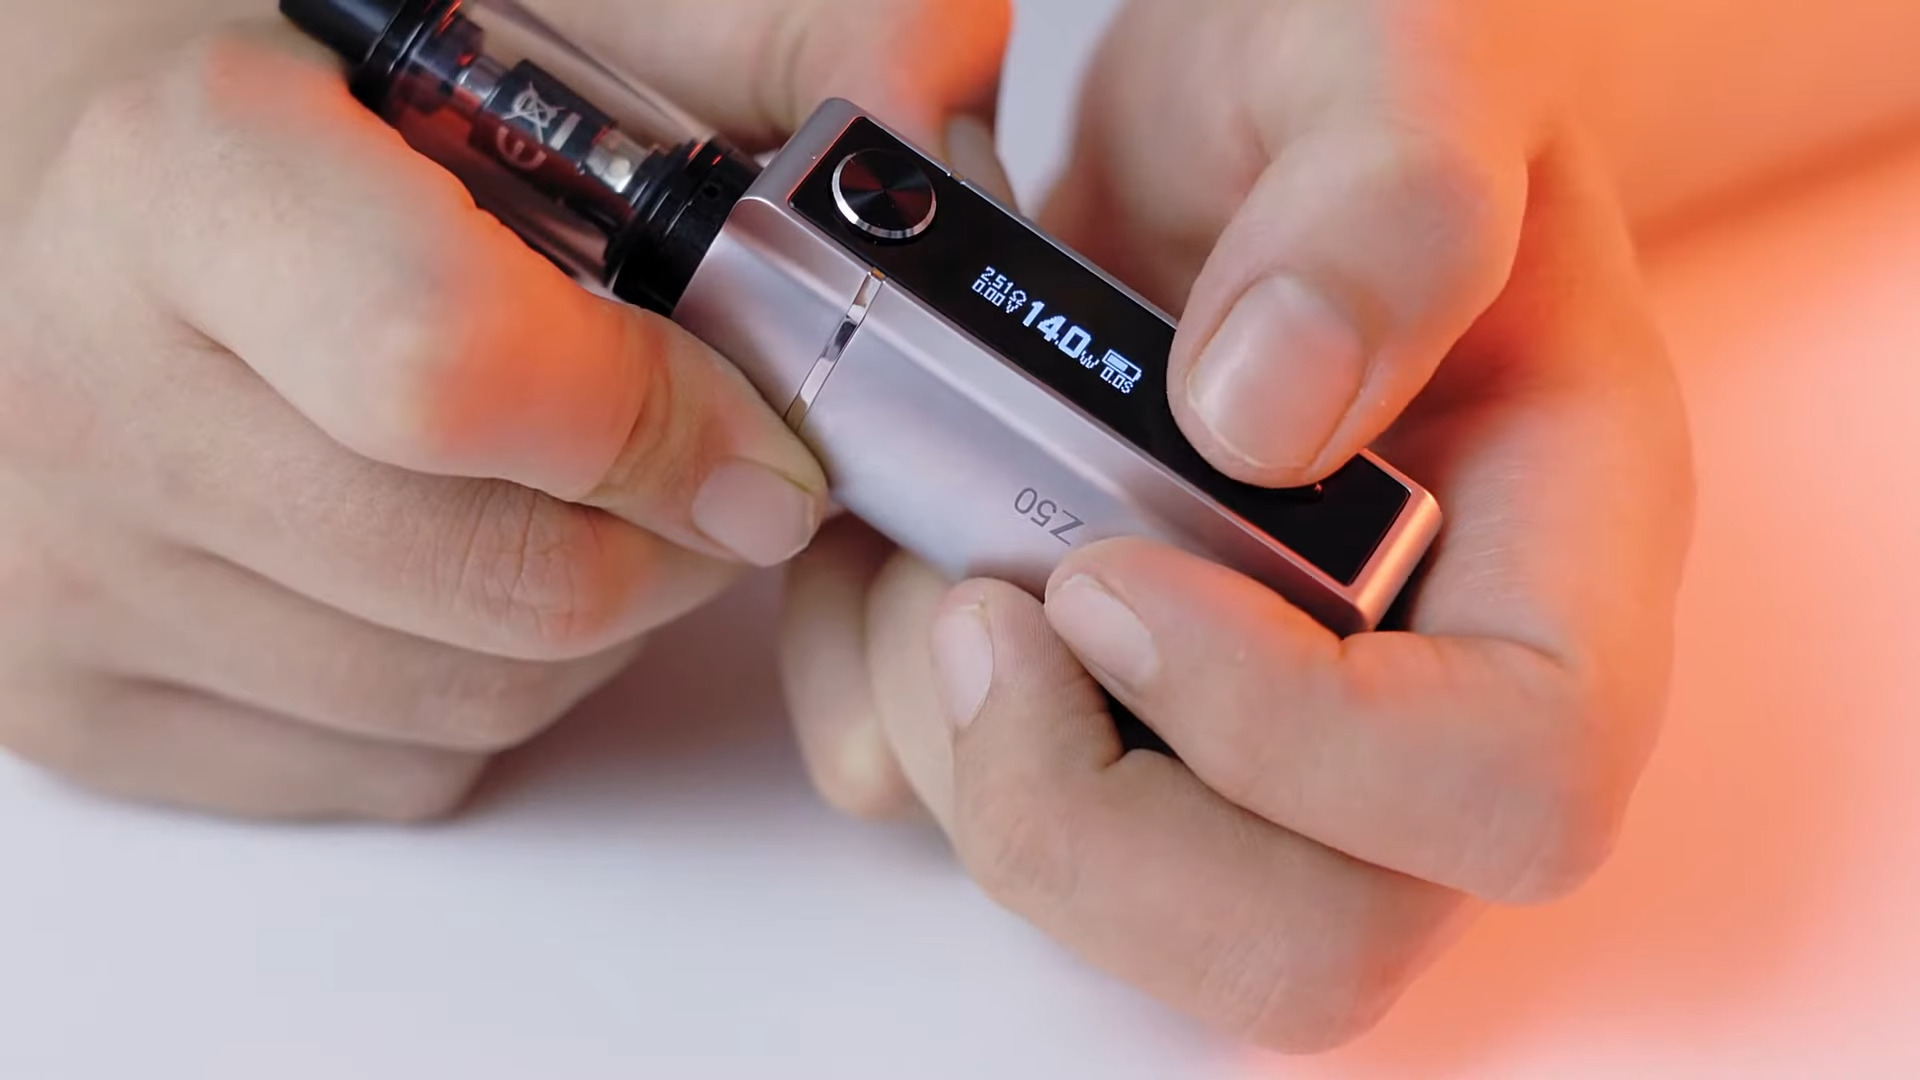
“Vapes” or e-cigarettes are usually comprised of four main components:
- a reservoir, cartridge or pod which contains the vape juice.
- an atomiser which uses vape coils to heat up the vape juice
- a battery which is the power source
- a drip tip or mouthpiece you use to inhale
E-liquid (or vape juice) comes in a variety of forms and flavours. It usually contains a combination of nicotine, PG (propylene glycol), VG (vegetable glycerine) and flavourings. We will go into more detail later, but for now—PG is responsible for the “throat hit”, VG (which is thicker than PG) gives the vapour a “thicker sensation”, and the nicotine…well, you know what that’s for!
We know you’re probably thinking this is much more hassle than lighting up a cigarette! But trust us, switching from smoking to vaping couldn’t be simpler!
2. Is it easy to switch from smoking to vaping?
The short answer is, yes! It’s much easier to switch from smoking to vaping than most people think. Not only is it more cost-effective, but also considerably healthier.

For example, despite a lot of propaganda exaggerating the dangers of vaping, even the NHS recommends e-cigarettes for people who want to quit smoking. For smokers, the decision to switch is a no-brainer.
Vaping has come a long way since those disposable ‘cigalikes’ you can buy at the shop (the vape pens made to look like cigarettes). As an introduction to vaping, cigalikes are pretty underwhelming and can discourage people from taking vaping seriously.
Today, however, the world of vaping has grown into a thriving industry worth over 20 billion dollars. With this comes a wide array of options guaranteed not to leave any ex-smoker out to dry. The only real issue with switching from smoking to vaping is getting to grips with vaping basics, and deciding what vape kit and e-liquid to opt for. So, read on!
3. Where should I purchase my vape? Which vape brands can I trust?
With such a huge number of vape kits, vape brands, and vape stores, you might feel that finding the right vape for you is like searching for a needle in a haystack!

Fortunately, those who work within the vaping industry are almost always extremely helpful, and more than happy to guide you towards making the right choice. Take your time, and don’t be afraid to ask questions—after all, vaping is an investment and it’s important to get off on the right foot and ensure your needs are met.
MIST has several detailed guides that can give you a head start, like our Top 8 Best Starter Kits For Beginner Vapers, or our Top 14 Best Vape Pens. It won’t take long to see which brands are trustworthy and reliable, as they have usually been in business for a while and have been consistently well-reviewed.
MIST believes, for beginners, starter kits are a great option, as these provide the easiest and most affordable transition from smoking to vaping. Of course, you’re going to need some vape juice to go with it!
4. What e-liquid should I choose? How much should I buy?
There’s no getting around it: figuring out what e-liquid to buy is a matter of trial and error. However, you don’t have to break the bank to find your favourite e-liquid!

The best (and cheapest) way to see what vape juice you like is to go into a vape shop, and the staff will gladly let you try different flavours. If you can’t make it into a vape shop, think about what flavours you like outside of vaping, and buy a small amount of a few different types. Our free vape juice sample packs are a great way to find a flavour/strength and blend you get on with. For ex-smokers, tobacco vape juice can be a safe choice as it replicates the flavour of cigarettes.
First-time vapers take note: as you’re not sure of your vaping frequency yet, and don’t know how long you will enjoy a particular flavour for, don’t buy in bulk! Finding out what and how much e-liquid to buy is a matter of cautious exploration. Do this and you’ll definitely settle on a flavour or two that fit the bill!
You could also try nic salts. Nic salts are naturally occurring nicotine taken from the tobacco plant. They deliver nicotine more efficiently to your bloodstream than the “freebase” variety (found in regular vape juice), as well as provide a much smoother “hit”. Nic salts and nic salt shots have become immensely popular with ex-smokers for the above reasons—to find out more be sure to take a look at our guide to nic salts.
Furthermore, make sure you familiarise yourself with how to fill up a vape pen with e-liquid. And, if you still need a helping hand with what vape juice brand to go with, check out our Top 10 Vape Juice Brands for 2021.
“But hang on”, I hear you say, “what strength of nicotine should I get?” Keep scrolling!
5. What nicotine strength vape juice do I need?
What nicotine strength e-liquid you need is often dependent upon your previous smoking habit.
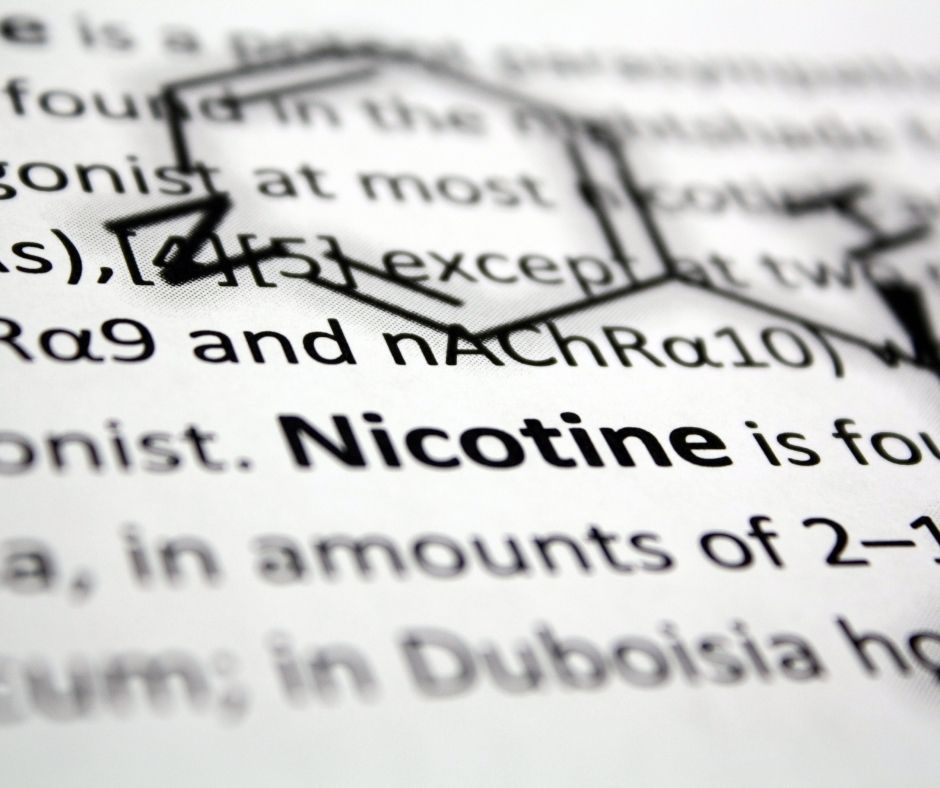
It’s a matter of experimentation figuring out what suits your needs—too weak a strength may risk leaving you unsatisfied, and too high a strength could be too harsh.
Usually, smokers with a twenty-a-day habit vape around either 12mg or 18mg of nicotine, as anything less may induce cravings.
However, despite this, we advise that those who are new to vaping opt for a lower nicotine content (say 3-6mg). This is because, if you’re unsure, it’s better to start low rather than high. After all, if it’s too low you can still vape comfortably, but vaping e-juice with a high nicotine strength could potentially be a very unpleasant experience!
Remember, you can always raise the strength if you find that you need more. If you’re unsure about the right nicotine strength for you, either ask to try different different quantities in-store, or buy a few different strengths before ordering a large batch of vape juice. If you want to take it to the next level you can fine-tune how much nicotine you use with shortfills and nic shots.
6. Should I choose MTL (mouth-to-lung) or DTL (direct-to-lung) vaping?
So far, our recommendations have mainly applied to MTL (mouth-to-lung) vaping, which we believe is the best vaping style for beginners (most starter kits are built for MTL vaping).
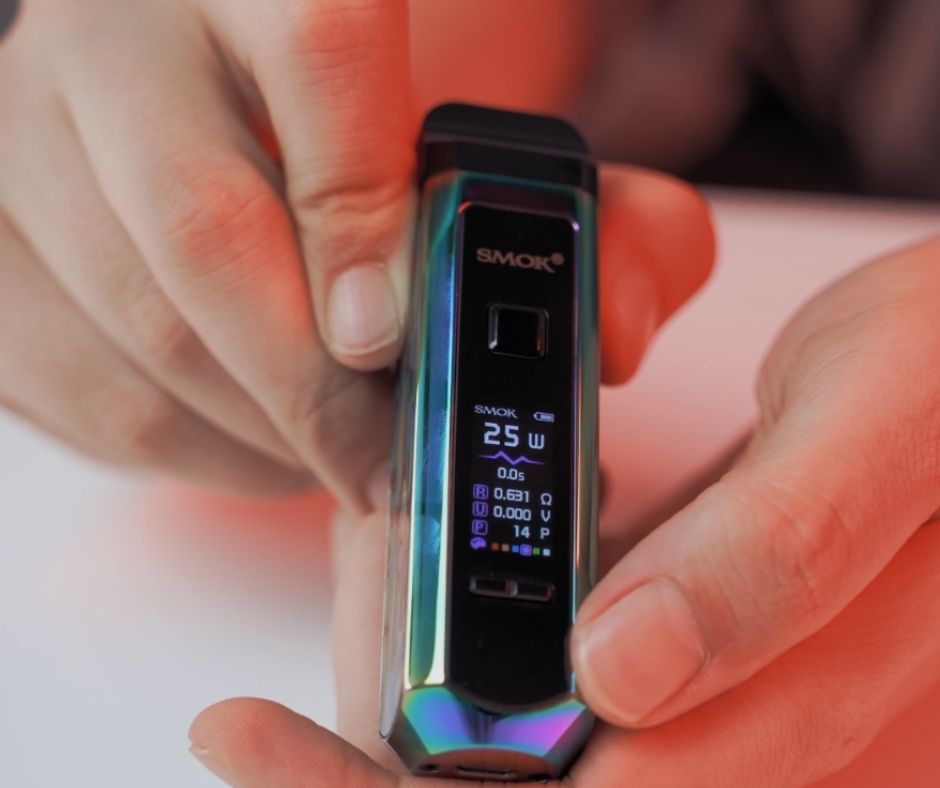
This is because, of the two vaping styles, drawing the vapour into the mouth and then into the lungs, more closely resembles smoking. Furthermore, MTL vaping places more emphasis on providing the body with nicotine via the much sought after “throat hit”.
Conversely, with DTL (direct-to-lung) or sub ohm vaping, you draw the vapour directly into your lungs and produce large vape clouds when you exhale. You might have heard of cloud-chasing, well, that’s all done with DTL vapes.
This style of vaping mainly uses low nicotine (around 3mg), high VG vape juice, low resistance vape coils, and vape kits specifically designed for producing intense flavour and big, luscious clouds. While we think this option isn’t for most beginners, it’s worth trying it out in-store to see if it’s the option for you. Still confused? Check out our blog for a more detailed look at the difference between MTL and DTL vaping.
7. What PG / VG Ratio e-liquid should I choose?
PG (Propylene Glycol) and VG (Vegetable Glycerine) are two of the main components in e-liquid (yes, we know this can all seem overwhelming at first, but we assure you that once you know you won’t forget!).
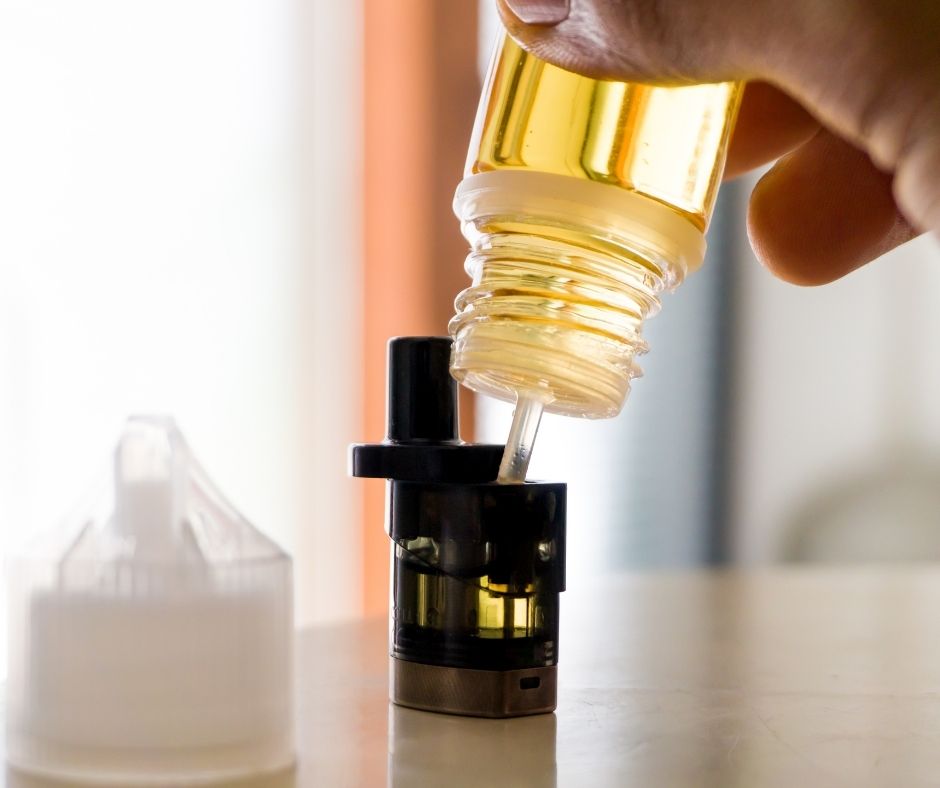
To put it simply, PG is a liquid with a thin consistency that is responsible for the “throat hit” often likened to smoking. VG on the other hand is a derivative of vegetable oil; thicker than PG and responsible for producing large amounts of vapour.
High-PG e-liquid is better suited to MTL vaping, whereas high-VG e-liquid is mainly used in sub-ohm kits. For beginners, the standard 70/30 PG/VG ratio is usually perfect for their mouth-to-lung vape kits. However, it is possible to vape higher VG ratios in MTL kits, like 50/50 for example, especially if vapers find the high PG e-liquids too harsh. But keep an eye on those coils so they don’t get clogged! Check out our guide for a more in-depth look at the difference between PG and VG.
8. How do I keep my vape clean?
“This was complicated enough already, and now you’re telling me I have to clean my vape device too?” Well, sort of…

Yes, vape maintenance like this is important, but it’s something you’ll rarely have to do. The components of most vape kits are so efficiently designed that they won’t require cleaning too often. But it’s good to know—after all, we’re sure you’d rather keep your vape clean than unnecessarily fork out for a new one!
The simplest way to clean your vape is by using a bit of soapy water (standard washing up liquid will do).
Here’s how to clean your vape:
- Disassemble your device (don’t get the battery wet!)
- Remove the tank and take the coil out
- Rinse the tank with lukewarm water
- Put a few drops of washing up liquid in a bowl of warm water if it’s really grimy
- Use kitchen towel to dry each piece well
- Let the pieces air dry for 15-20 minutes—you can put them on top of a radiator (NOT the battery or a plastic tank)
Here’s how to clean your coils:
- Mix a little vodka (unflavoured) with water and soak it for a few minutes
- Leave to dry naturally—do not put it on a radiator as this can dry out and ruin the cotton
- Reassemble your device
- Put the coil back
Pop it back on your battery and, before you add any liquid, press the button and blow gently for a second or two. This should vaporize the alcohol—you don’t want to inhale that as it’s very hot and harsh on your throat! Only do this once for a second or two or you’ll burn your cotton. Then treat it like a new coil: add your e liquid, and let it sit for 15 minutes or so to soak up and you’re ready to vape as normal again. Any flavour from your previous liquid should be gone altogether.
There’s also the lazy way: only use one coil per flavour. When you change flavour, you also change the coil. Lazy or not, some of the MIST team have certainly been known to use this method!
Leave the coil with the bottle so next time you want to vape that particular flavour again, you can reuse the coil until it needs to be thrown out. You should still clean the tank itself between each flavour change.
We know this may seem like a lot to take in, but we’re confident that learning to keep your vape device in good nick will make your whole vaping experience far more enjoyable. Keeping your device clean will ensure e-liquid tastes better, and improve the quality of your vapour, vastly improving your vaping experience.
9. How do I avoid dry hits when vaping?
We have a detailed guide on how to avoid the dreaded dry hit, but, for the sake of convenience, we’ve listed a few of the cardinal rules below:

- Always wait a few minutes after filling your tank with e-liquid to let the coils become soaked through. Take a few “primer puffs” before you vape properly. This means vaping on your device with it turned off to draw the liquid into the coils.
- Make sure you don’t vape too frequently as this can overheat your coils and produce a dry hit.
- Adjust your PG/VG ratio as high PG e-liquids can cause harshness for some vapers.
- Keep your vape coil saturated: you always want to make sure you have enough e-liquid in your tank, as if it falls too low (so the cotton holes are visible) you increase the possibility of damaging your coils, as well as the dreaded dry hit!
10. How do I fix a “gurgling” “leaking”, or “flooded tank”?
Sometimes, no matter how you’re using your vape, a little too much e-liquid can be soaked up by the cotton. We cover this common issue in detail in our guide to fixing a spitting vape.
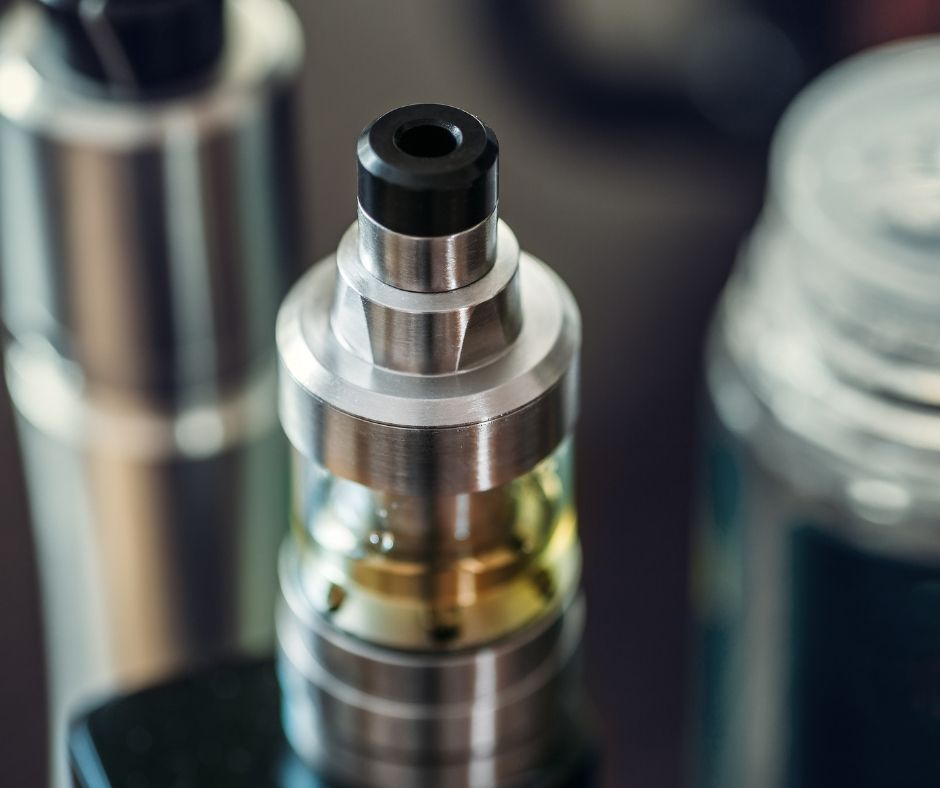
This can be caused by the top not being screwed tight enough, or because you simply haven’t vaped in a while. It can create a little gurgling sound, and sometimes you may even suck some e liquid into your mouth, which isn’t fun!
Here’s how to fix a gurgling vape or flooded tank:
- Give the device a little flick/shake. Hold it tightly so you don’t chuck it across the room (speaking from experience here), and flick your wrist. The excess e juice should fly right out.
- Gently blow into the vape pen, instead of taking a drag, (without pressing the button) this should blow that excess juice straight out of the airflow.
It’s a good idea to hold a piece of tissue around the device to catch the vape juice, so you don’t end up covering yourself in droplets and ruining your clothes.
Now, If your vape is still leaking and you don’t know why, there are a few ways to identify what the cause is, and how to fix it:
Here’s how to fix a leaky vape:
- Make sure you fill your vape tank correctly—there are different types of vape tank so ensure you’re following the steps that correspond to the tank you’re using.
- Check your vape tank is properly tightened—not too tight so you can’t open but tight enough to prevent spillage.
- Try replacing your vape coil or pod—if you’ve tried the other methods it may be your coils or pods that need replacing.
- Make sure your voltage/wattage are at the correct levels—easy to forget or accidentally alter, so keep a close eye on this.
- Check your tank to ensure it’s free of damage—it could be that there is a crack in your vape tank , so give it a close look and, if you do find one, buy replacement glass if possible.
Check out our guide for a more detailed look at how to fix a leaky vape.
11. What should I do if my vape coil tastes burnt?
You might find that sometimes you get a burnt taste when you vape. Burning cotton is the least desirable flavour (if you can call it a flavour) to a vaper’s palate, so you definitely want to avoid this at all costs!

If this has happened when using a brand new coil it could be that you were a little too eager to start vaping, and didn’t allow the coil to fully saturate. Though there could be other reasons, so check out our guide for more info on why your vape tastes burnt with a new coil.
Most likely though, you probably haven’t wrecked your new coil so, to fix the problem, follow the instructions below.
Here’s how to stop your vape tasting burnt:
- Unscrew the top for a second—sometimes the airtight seal can create a kind of suction effect that prevents the e liquid from soaking into the cotton of your coil
- Screw the top back on, and take a short, sharp pull without pressing the button to suck the liquid onto the cotton
- Let it sit for 10 minutes and you should be good to go.
If it still tastes burnt, however, you might have ruined the coil and will need to change it.
If the above scenario ever happens when it isn’t a brand new coil, it simply might be that your coil is at the end of its lifespan and needs changing. Simple!
12. How do I store my vape device?
If you’re anything like the MIST team, then your vape device is never too far from you. Though they are very compatible, often fitting snugly in a bag or a pocket, this can make for a few messy problems.

Although the tanks are well-sealed and leaking is rare, gravity can still be an enemy. One of our team member’s bags smelled for weeks after a particularly bad leak, because he didn’t screw the top on properly and just chucked it into his bag. You can imagine he was quick not to make the same mistake again!
But don’t worry, these things happen and we’ve all done it at one point or another. All it takes is a little care and attention to prevent these accidents from spoiling your day. So make sure everything is screwed on tight enough, (but not so tight that you can’t undo it when you want to fill the tank!), and don’t put your device upside down in a bag or pocket. That’s just tempting fate!
13. How do I get the best flavour out of my device?
Occasionally, vapers can run into the problem of not getting enough flavour from their device. It’s not as bad as a burnt hit, but lacklustre flavour or small amounts of vapour is less than ideal!

Rectifying this is sometimes as simple as changing your coil, even though it hasn’t reached the “burnt taste phase” yet. The easiest way to tell if your vape coil is responsible is to remove it and take a closer look.
The main thing to look out for is if the cotton looks grey. This can be hard to see if you’re using a coloured liquid, but you should still be able to tell when the colour looks muted or greyer than it would with white cotton. Throw it away and pop in a fresh one—badabing badaboom! Now you should notice that delicious flavour coming through again.
If your coil looks fine, it could be your vape juice, or the particular PG/VG ratio it’s composed of, so maybe it’s time to change things up. Furthermore, if you’ve used more than one flavour of e-liquid in the same coil, the remnants of the old vape juice can mix with the new one. This can produce a fairly unpleasant, flat taste, so it’s worth popping in a fresh coil to get your favourite flavour back.
Remember, in order to get the most flavour out of your device don’t be afraid to experiment.
When you feel confident enough you can use an e-liquid calculator to create your own custom concoctions; adjust the amount of nicotine as well as the PG/VG ratio and even mix flavours!
We know this may seem rather advanced, but it just goes to show how much more freedom vaping gives you when compared with smoking. The vaping world is your oyster!
Conclusion
Phew! That’s quite a lot of information to take in, but familiarising yourself with the vaping basics is very much like riding a bike—once you know, you know! And there’s nothing MIST wants more than for your vaping experience to be as stress-free and enjoyable as possible. Our chief aim is to make your transition from tobacco to vaping as seamless as we can, so that you’ll never look back!
We’ve put a lot into this guide to ensure you’re in a great position to get the most out of your vape kit. With it, we’re sure you’ll be well-equipped to solve any problems you may encounter on your exciting new journey!
Looking for more vaping beginner tips and tricks? Take a read of some related articles below:


Leave a Reply