Hello and welcome back to another educational vaping adventure. Today we’re going to be solving that frequently asked question: why is my vape spitting/crackling?
A problem we hear from customers all the time is that they’re having an issue with their vape spitting or crackling at them. “Spitback,” as it’s often referred to, is not actually that rare an issue, and it’s one that most vapers, particularly those who use sub-ohm tanks, will have faced before.
Spitback and crackling is unfortunately one of those very common issues that vaping has yet to provide a fix-all solution to, but there are a number of avenues you can pursue to dramatically cut back on this unpleasant occurrence.
- Why Is My Vape Spitting/Crackling?
- How Do I Stop My Vape From Spitting/Crackling?
- Which Vapes Don’t Spit Or Crackle?
- Which Vapes Are Less Likely To Spit Or Crackle?
Why Is My Vape Spitting/Crackling?
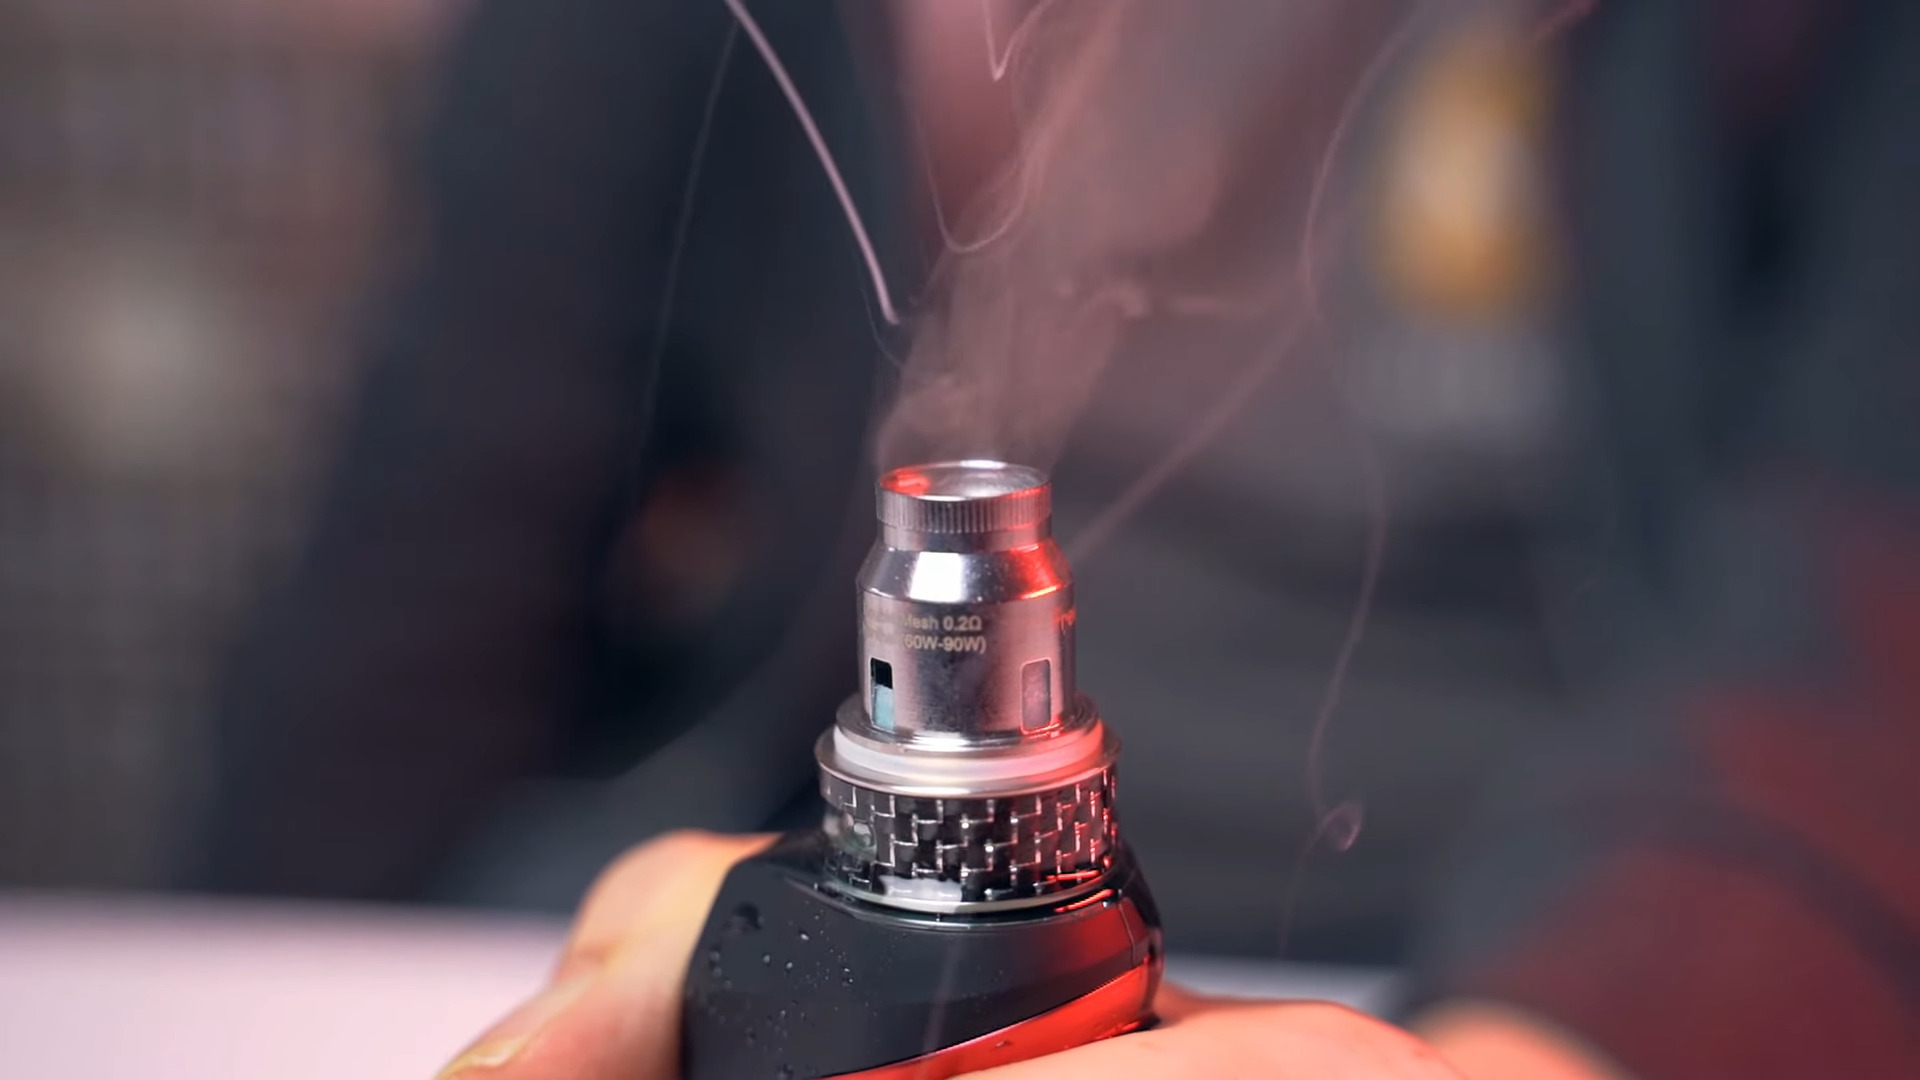
“Spitback” is the term for when small beads or droplets of hot vape juice emerge from the mouthpiece and land on the vaper’s lips or tongue. It can cause discomfort from the heat of the liquid and often results in the affected part of the lips turning numb for a few seconds.
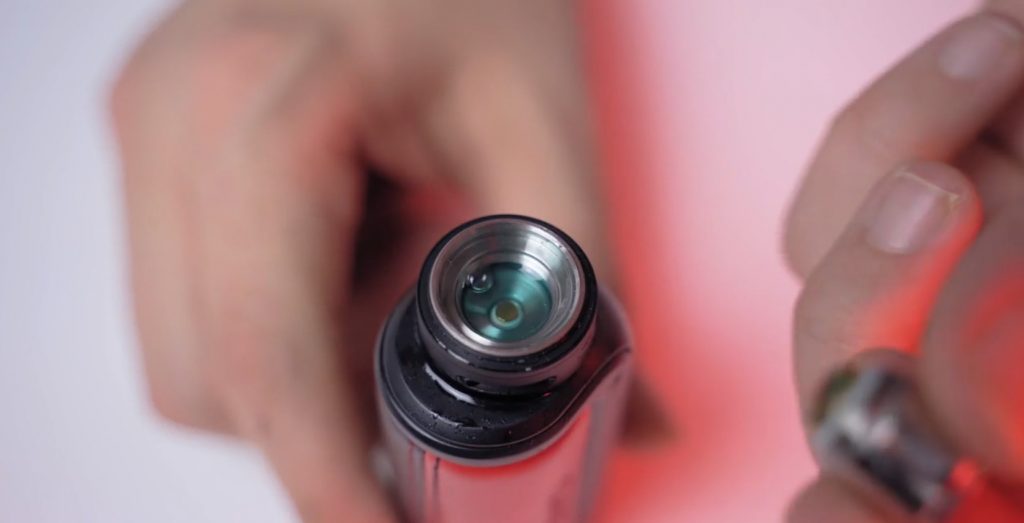
About 90% of the time the reason your vape is spitting or crackling is because the interior of the coil has become flooded with vape juice.
Take a moment to imagine what happens if you sprinkle a few drops of water onto a hot pan; the liquid bubbles about, unable to withstand the agitation of direct heat and flies off in any direction to get away. In the case of a vape tank, one of those directions just happens to be towards your mouth.
There are several reasons your coil is flooding, most commonly it’s because your coil is simply on it’s way out; the cottons inside – having been atomising sugary vape juice for weeks – have effectively caramelised, the material now sodden with vape fluid and incapable of effectively soaking up new juice.
Another very common reason for floods is over-enthusiastic priming.
“Priming,” as we’ve covered in our guide to vape coils, is the act of introducing your coil to vape juice before or during installation, so that when you fill your tank you won’t have to wait long for it to soak before use.
Unfortunately, many prime their coils a little too intensely, dropping large quantities of vape juice into the centre of the coil, where it comes into direct contact with the heating element and behaves the way most liquids do when sudden, direct heat is applied to them.
How Do I Stop My Vape From Spitting/crackling?

1. Prime your vape coils
For one thing; prime patiently! The right way to prime is to simply ‘paint’ the exposed cotton with a miniscule touch of vape juice, and then be sure to still wait 5 minutes or so before first firing up your unit.
2. Flick your vape downwards onto paper towel
If you’re currently experiencing a spitback/crackling vape issue and you don’t want to throw your current coil away there are a couple of quick fixes you can do to right now.
One common method is to take a firm grip of your unit and ‘flick’ it downwards, so that the mouthpiece swings down in a wide, fast arc. The inertia of your flick is likely to dislodge and eject substantial pools of vape juice; try it over a paper towel, you’ll be surprised how much emerges from your drip tip!
3. Clean your tank with cotton buds
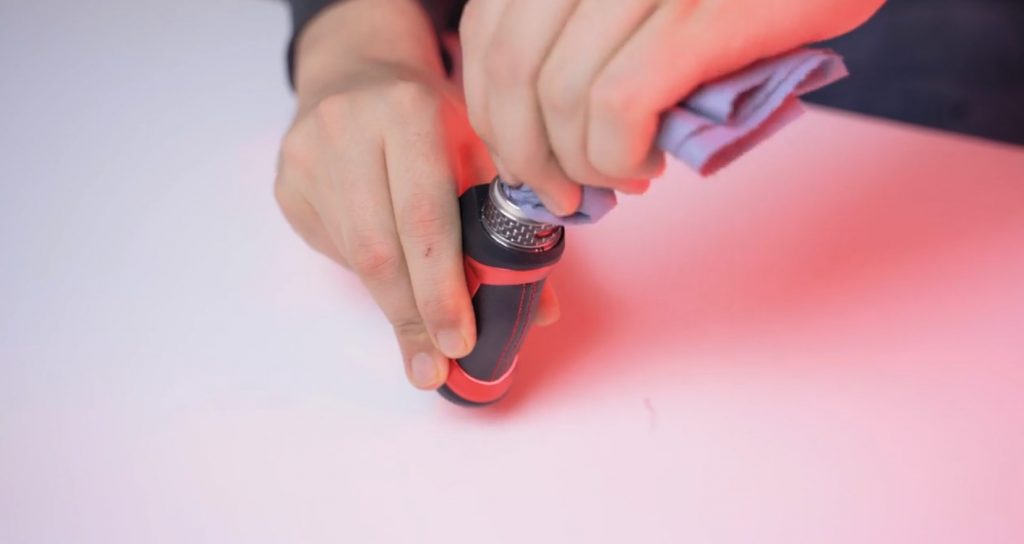
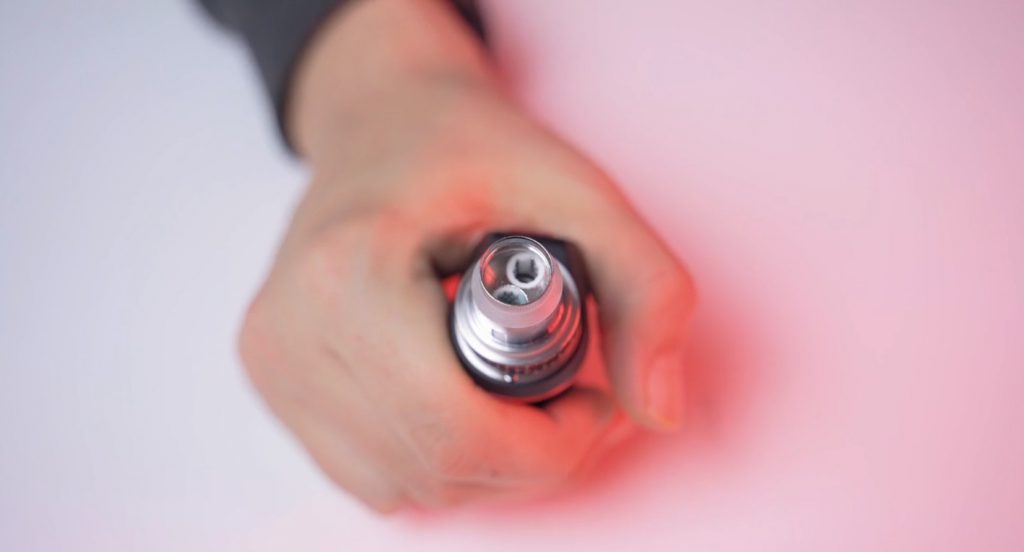
Another method is to get some cotton buds, take the lid off your tank and do a little gentle dabbing on the inside of the coil, soaking up any unwelcome reservoirs of vape fluid from around the heating element.
You can also take a moment during coil changes to disassemble your tank and use some kitchen towels or cotton buds to wipe around the inside, particularly in the bottom section beneath the coil where it isn’t unusual for a small reservoir of vape juice to build up.
Which vape pens/tanks don’t spit or crackle?

While there aren’t a great many vapes which advertise ‘spit proof’ as a selling point, there are a handful of products you can utilise to cut down on spitback and crackling.
There are several drip tips and mouthpieces available that come fitted with a spit guard, effectively a honeycomb or mesh design with holes that are smaller than the agitated vape juice droplets, ensuring the mouthpiece will always be able to catch them before they reach your lips.
If looking into an anti-spit mouthpiece, be sure to take note of the size dimensions; vape mouthpieces always come in one of two sizes – 510 and 810, and they are rarely interchangeable.
Most anti-spit drip tips are likely to be 810 as this is a more common ‘wide bore’ style mouthpiece for big DTL lungfuls, but be sure to check regardless as 510 units are available.
Which Vapes Are Less Likely To Spit Or Crackle?

If spitback is enough of an irritation that you’re questioning whether to continue vaping, we recommend that you instead opt for a slightly less powerful vape.
While no vapes are entirely free of this, you will find that smaller, MTL vape systems are less likely to violently cast hot vape juice in your direction.
MTL vapes and most pod vape systems generally utilise much smaller wattage ranges and coils which are often more compact with less of the core exposed.
These together mean the vape juice will be less agitated even in the case of flooding, with less room for the juice to build up in and less opportunity for it to fly upwards toward you.
Take for example the Aspire Nautilus Nano tank; the mouthpiece is long and tapered, resting atop a coil with a slim build. The chance of spitback from a device such as this is absolutely minimal, even if you increase the wattage somewhat.
Generally speaking you simply want to avoid vapes which feature large wattage outputs and big, wide-bore mouthpieces if the prospect of spitback is enough to put you off vaping.
A small pod vape system like the Uwell Caliburn G would be a great choice for anyone who wanted a moderate, reserved and classy vape which was unlikely to cause spitback, due to its draw-activation technology.
The Caliburn G’s firing button is entirely optional, allowing you to activate the unit simply by puffing it. This means the device will only be firing for the moments of your inhalation and never powerfully enough to cause a volatile reaction inside your coil’s housing.
Need more vaping advice?
If you’ve enjoyed this explanatory guide then please check out some of our others educational articles:
- How Much Does Vaping Cost? A Breakdown Of Vaping Vs Smoking Costs
- How long does vape juice last? When to buy new e-liquid
- Why Does My Vape Taste Burnt With A New Coil? – How to fix
- Why Is My Vape Getting Hot? How to fix a hot vape?
- How to Prevent a Sore/Burning Throat from Vaping
- Why is my Vape Leaking? How to Fix a Leaky Vape
- What is a Dry Hit? How to Prevent Dry Hits when Vaping
- How Long Do Vape Coils Last? When You Should Change Your Vape Coils
- What Are Vape Coils? How Ohmage, Wicking & Sub Ohm Coils Work
- Harsh Vape Fix – How to Get a Smooth Vape


Leave a Reply