
We spend ages choosing the perfect vape kit and the most delicious e-liquid, but often forget the tiny, hard-working hero that makes it all happen: the coil.
This little engine is the key to amazing flavour, and understanding it is the difference between a great vape and a frustrating one. It might sound technical, with words like “resistance” and “ohms” thrown around, but don’t worry! This guide is here to break down everything about vape coils in plain English.
TLDR
- A vape coil is the heating element in your vape that turns e-liquid into vapour; it’s made of a wire and cotton wick
- Coil resistance (Ohms) determines your vaping style: high resistance for a tight, cigarette-like draw (MTL) and low resistance for large, airy clouds (DTL)
- Coils last 1-2 weeks and must be ‘primed’ (pre-soaked) with e-liquid before first use to prevent a burnt taste
So, What Are Vape Coils, Exactly?
A vape coil is basically the engine of your device. It’s a small, replaceable part that does all the hard work of turning your delicious e-liquid into the vapour you inhale.
It has two main parts: a heating wire and a cotton wick. When you fire your vape, the battery heats the wire, which vaporises the e-liquid soaked into the cotton. Simple as that!
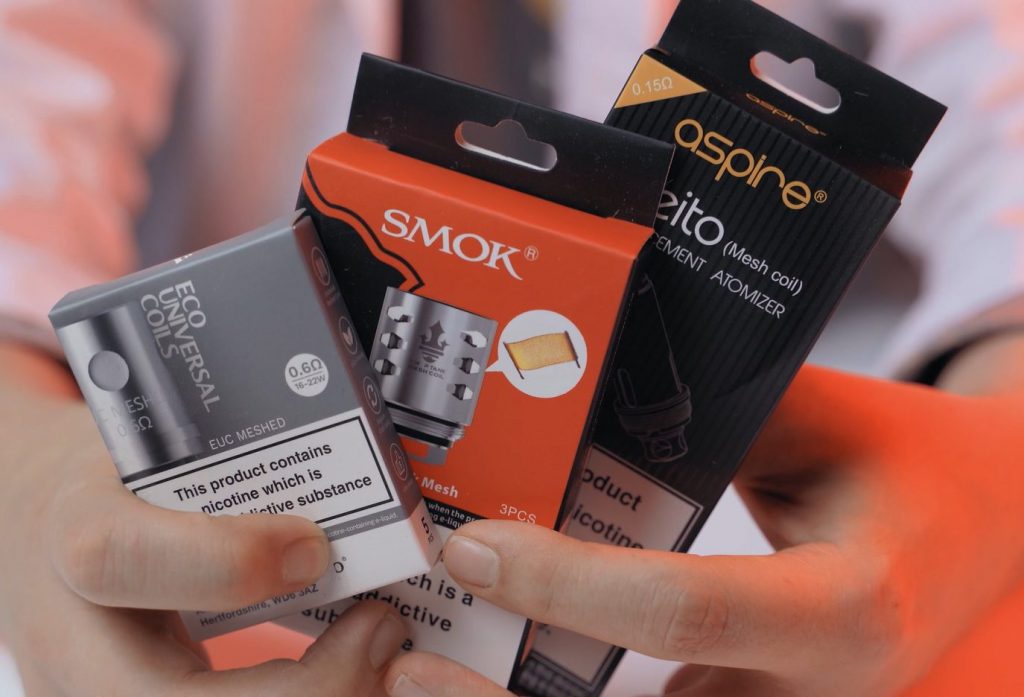
What Are the Main Types of Vape Coils?
Not all coils are built the same. Here are the three main types you’ll encounter:
- Standard Wire Coils: The classic design using wrapped wire. These produce excellent flavour and work well for beginners. They’re reliable and widely available.
- Mesh Coils: Instead of wrapped wire, these use a strip of metal mesh. The larger surface area heats e-liquid faster, creating more vapour and often better flavour. They tend to last longer too.
- Ceramic Coils: These use porous ceramic as wicking material rather than cotton. Known for pure, clean flavour and extended lifespan, though they’re less common and take longer to heat up.
Vape Coil Resistance Explained (MTL vs. DTL Coils)
“Resistance” sounds super complicated, but it’s actually dead simple. It’s measured in Ohms (Ω), and it just tells you how much the coil “resists” the power from your battery.
- High Resistance = Less Power, Tighter Draw
- Low Resistance = More Power, Airier Draw
This leads to the two main styles of vaping:
- MTL (Mouth-to-Lung) Coils: These have a higher resistance (1.0Ω or above). They create a tight draw that feels a lot like smoking a cigarette, where you pull the vapour into your mouth first. Perfect for beginners.
- DTL (Direct-to-Lung) Coils: Also known as Sub-Ohm coils, these have a low resistance (below a 1.0Ω). They create a very open and airy draw where you inhale the vapour straight into your lungs, producing massive clouds.
| Feature | MTL (High Resistance) | DTL (Low Resistance / Sub-Ohm) |
|---|---|---|
| Resistance | Above 1.0 Ohm | Below 1.0 Ohm |
| Airflow | Tight & Cigarette-like | Open & Airy |
| Vapour | Discreet, Less Cloud | Large, Dense Clouds |
| Best For | Replicating smoking, flavour | “Cloud chasing” |
How Long Do Vape Coils Last? Signs You Need a New One
Most coils last about one to two weeks. If you vape a lot or use very sweet e-liquids, they might wear out a bit faster. Your coil will always give you a few clear signs when it’s ready for retirement.
Here are three clear signs your coil needs replacing:
- Burnt or strange taste: The most obvious sign. If your vape tastes burnt, harsh, or just “off”, your coil is done.
- Gurgling sounds or leaking: When coils wear out, they struggle to vaporise liquid properly. This causes gurgling noises and unexpected leaks.
- Weak vapour production: If your device produces less vapour than usual despite a full battery and tank, the coil likely needs changing.
Pro tip: Keep your coil life longer by always priming vape coils and never letting your tank run completely dry. Dry cotton burns quickly! For more tips, read our coil lifespan guide.
How to Prime a New Vape Coil in 4 Easy Steps
This is the one step you should never, ever skip. Priming a new coil prevents that horrible burnt taste from a “dry hit.”

- Drip & Saturate: Before installing your new coil, add 3-5 drops of e-liquid directly onto the exposed cotton. You’ll see the cotton change colour as it absorbs the liquid.
- Install & Fill: Screw the primed coil into your tank or pod. Fill the tank with e-liquid as normal.
- Wait: Let everything sit for 5-10 minutes. This gives the cotton time to soak up liquid from the tank fully.
- Prime Puffs: Take 3-4 short puffs without pressing the fire button. This pulls extra liquid through the coil, ensuring complete saturation.
Start vaping at a lower wattage than usual for the first few puffs, then gradually increase to your preferred setting.
FAQ
Should I clean my vape coils?
Washing a coil under a tap of cold water might seem clever, but you’re unlikely to remove any of the now burned-in vegetable glycerine, and even if you managed to, the coil would now contain impurities from the water which will affect the flavour of your vape even after drying.
Fact is, unless you’re one of the RDA users still out there, your only option is going to be changing your vape coil.
How do I change a vape coil?
The process depends on what pod or tank you have. For a pod vape with a removable coil, simply pull the coil out of the base of the pod and push in a new one — don’t forget to prime your coil first!
If you have a non-removable coil, you will have to replace the entire tank.
Can I use my new vape coil right away?
A fresh coil needs time to soak. With the absorbent materials bone dry, running an electrical charge through the heating element now runs a high risk of a ‘dry-fire’.